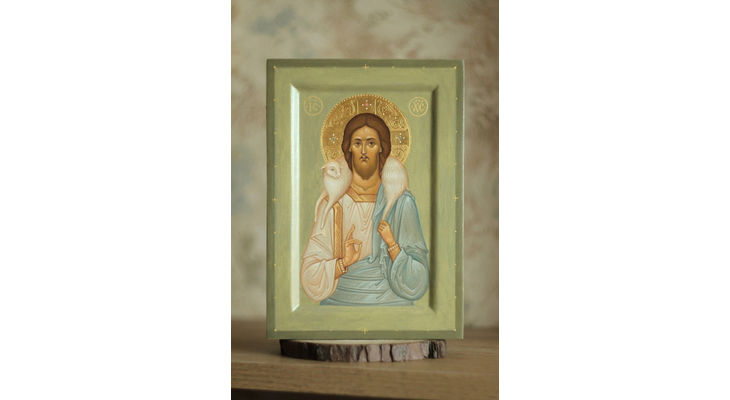
“There is nothing more amazing and thrilling in work than to watch how, through layers and strokes, the features of the holy face begin to form and how, gradually, wise, gentle, prayerful eyes start to look at you as if they are alive,” says Anna Kornilova.
The 23-year-old icon painter told us how she creates an icon step by step:
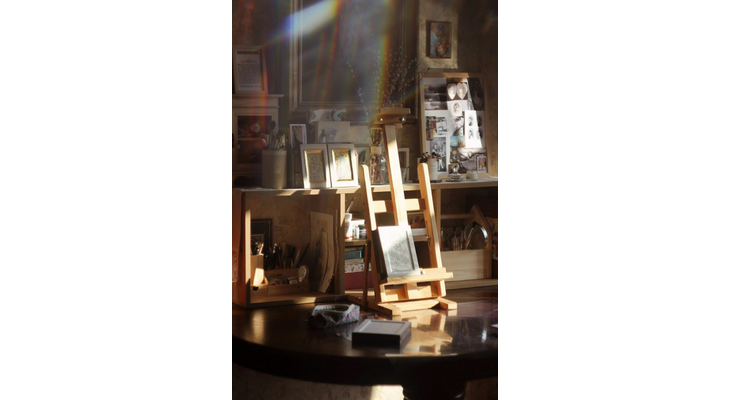
First, Anna thinks through many nuances: the plot, size, overall style, color scheme, the presence of gold, and embossing.
She orders a board of the required size and shape from a carpenter.
Anna applies dissolved gelatin or animal glue to the board in several layers and lets it dry for 10 hours.
Then she takes natural linen fabric, soaks it in glue for 2-3 hours, sticks it to the board, and dries it well.
She pours chalk into the warm liquid glue and kneads the gesso (icon ground) thoroughly, straining it through organza. This way, she cleans the mixture from hard particles that could scratch the gilded surface. At the very end, Anna adds half a teaspoon of linseed oil.
Before applying the gesso, the board is rubbed with a special solution of glue and chalk. Then the gesso is applied in several layers, with drying in between, and the icon painter sketches the images on it.
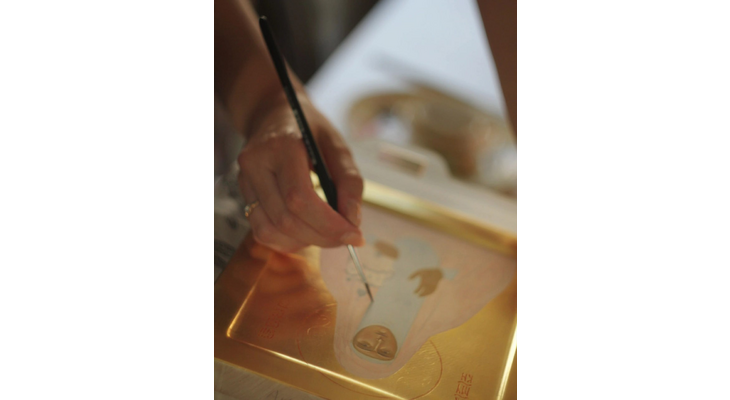
If the icon is to be gilded, tissue paper sheets with transfer gold are used.
After gilding, Anna begins to gradually “reveal” the image in color, stroke by stroke. In church terms, to “reveal” or “open” an icon means to fill the prepared drawing with paints.
The icon is revealed in thin, transparent layers. During the work, as the master says, one must ensure not to apply the paint too densely. It is important that the painting maintains moderate transparency and liveliness. The strokes should form the space and follow the contour of the figures.